How To Reassemble Samsung Galaxy S6 Edge
Everyone can use only once this coupon code: ETSASS0PI for extra discounts on http://www.etradesupply.com on order.
After completely tearing down the Samsung Galaxy S6 Edge, here we walk you through how to reassemble it again step by step.
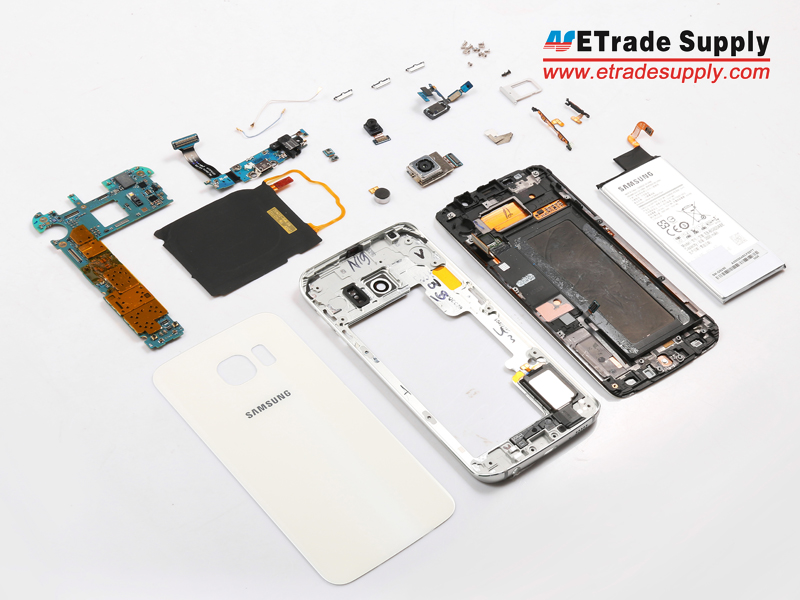
Tools Needed:
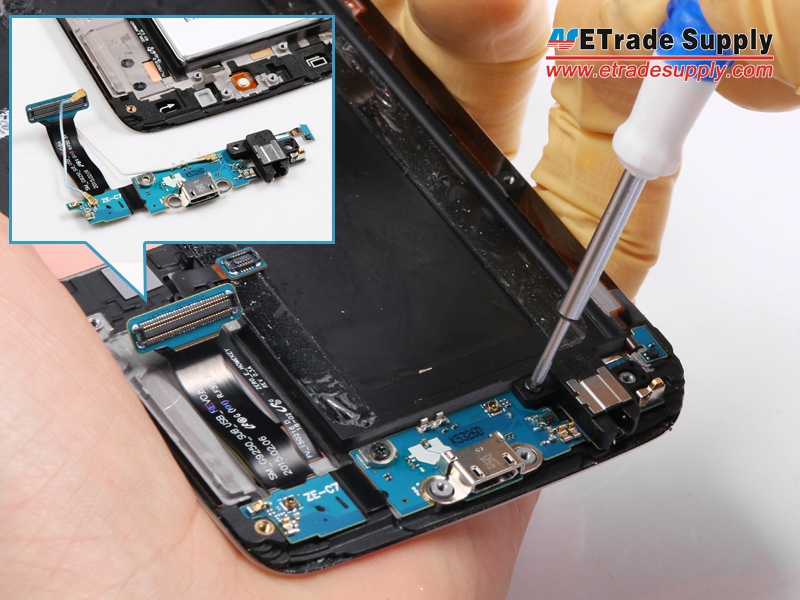
Step 1: Reassemble the Galaxy S6 Edge Charging Port Assembly.
▪ Connect the two RF antenna signal cables to the charging port assembly.
▪ Put the charging port assembly back into the slot.
▪ Fasten the 2 screws.
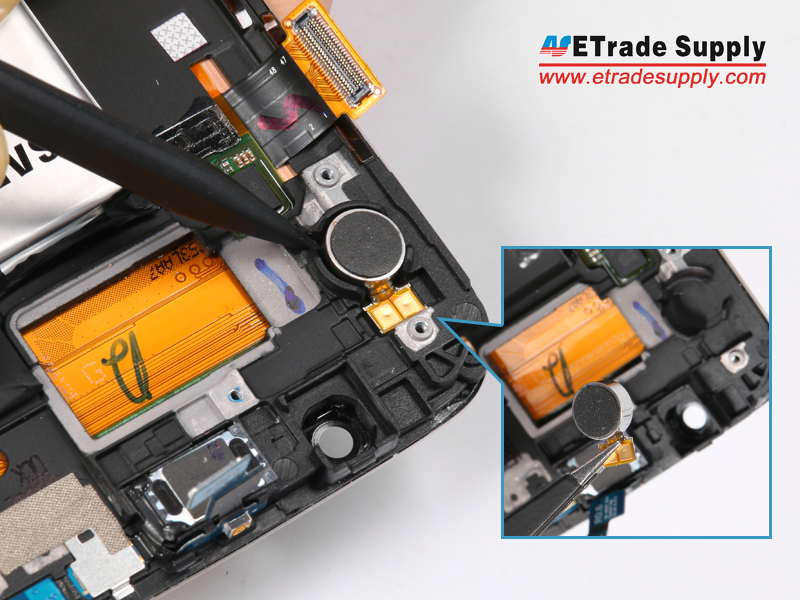
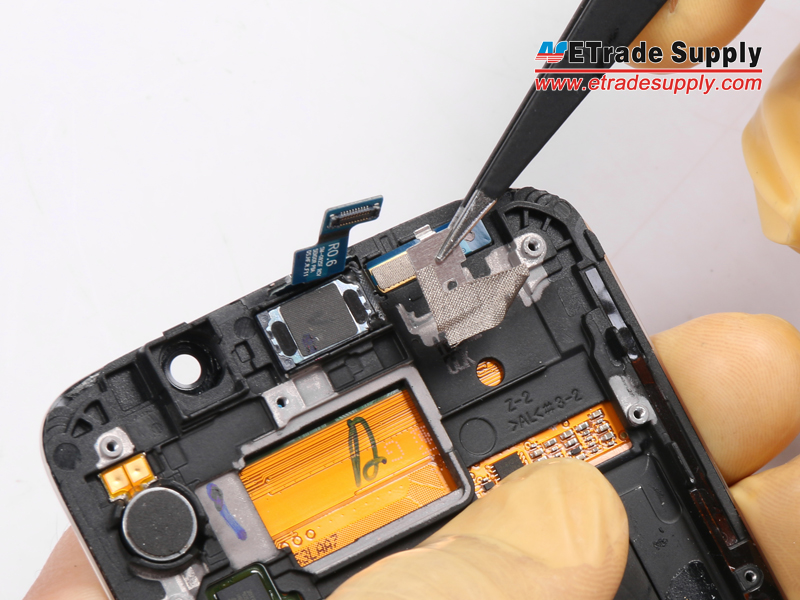
Step 2: Replace Small Components In The Front Housing.
▪ Replace the Galaxy S6 Edge’s ear speaker with proximity sensor.
▪ Reassemble the Galaxy S6 Edge’s vibrating motor.
▪ Remember to replace the proximity sensor’s metal cover.

Step 3: Replace The Galaxy S6 Edge Battery.
▪ Paste some 3M adhesive or double sided adhesive before installing the battery, be careful not to damage the flex ribbon and connector.

Step 4: Reassemble The Galaxy S6 Edge Motherboard.
▪ Replace the Galaxy S6 Edge’s rear facing camera and microphone into the logic board.
▪ Reconnect the 4 flex connectors: battery, screen, charging port and motherboard flex connectors.
▪ Re-install the front facing camera and connect the ear speaker connector.
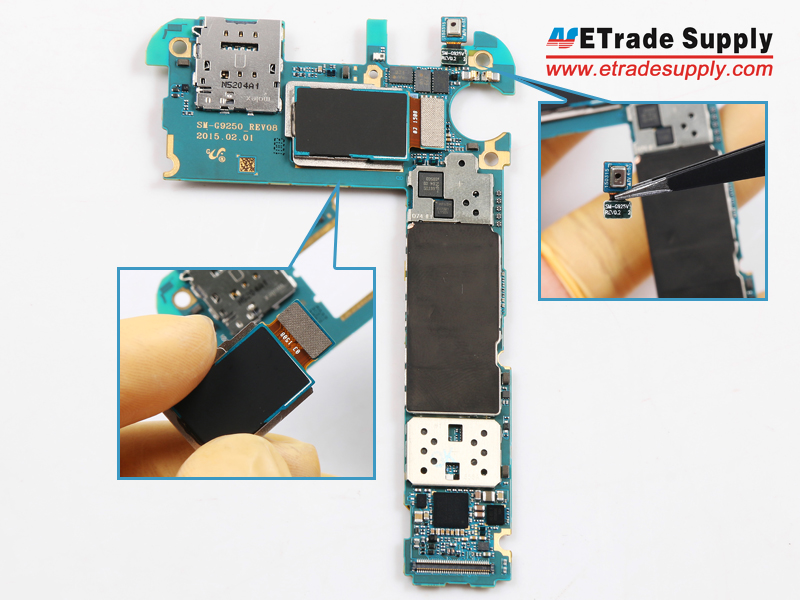

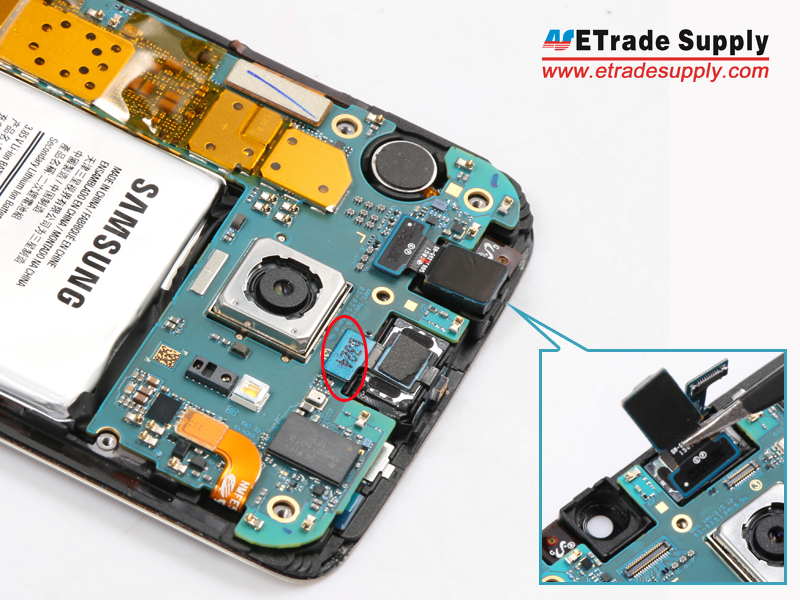
Step 5: Replace Small Components In The Rear Housing.
▪ Replace the power button and flex into the slot.
▪ Replace the volume button and flex back into the slot.
▪ Replace wireless charging coil, and be careful not to damage the fragile flex ribbons.
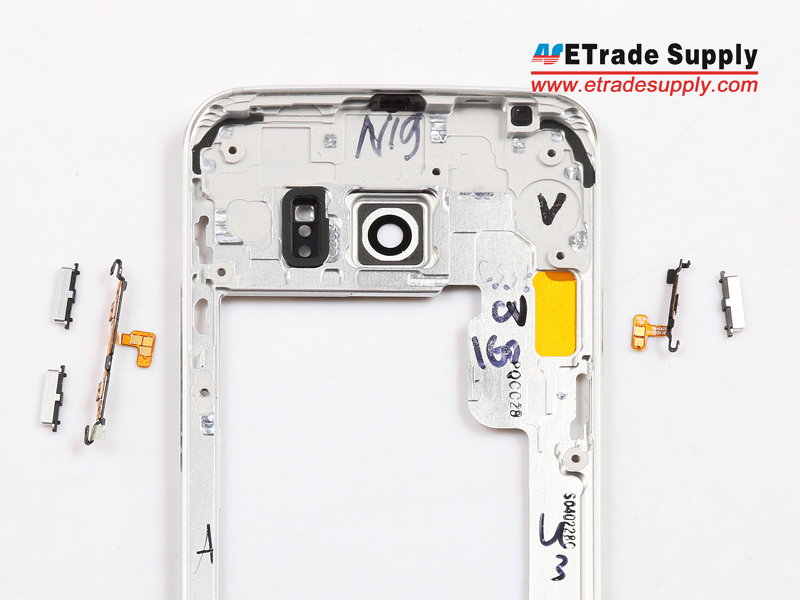
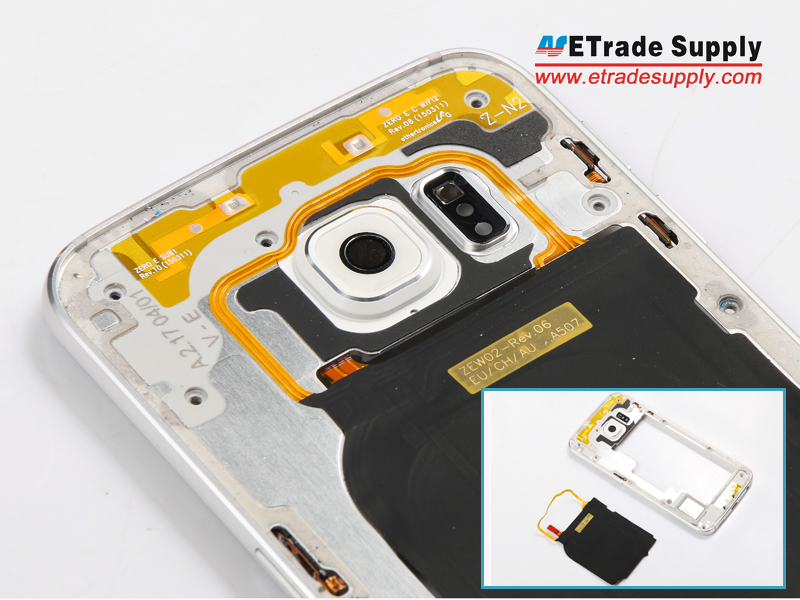
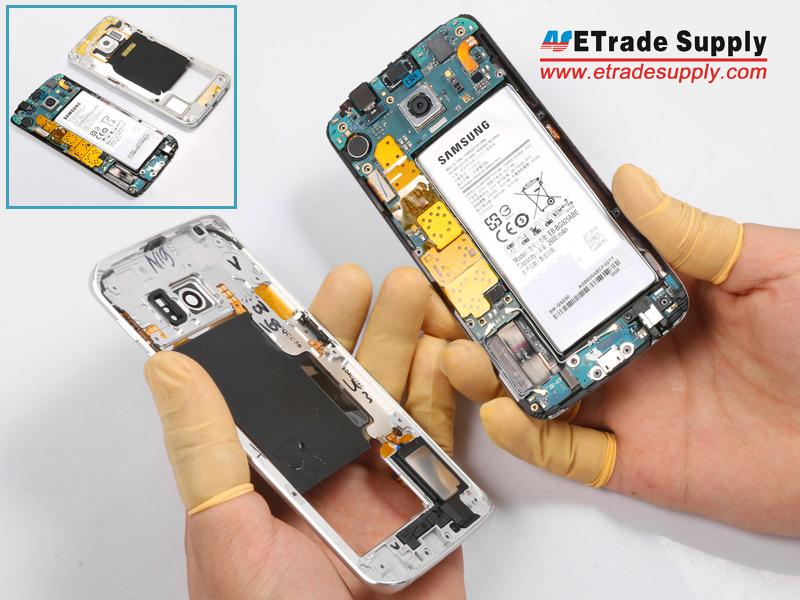
Step 6: Reassemble The Galaxy S6 Edge’s Rear Housing and LCD Assembly.
▪ Reassemble the rear housing and LCD assembly.
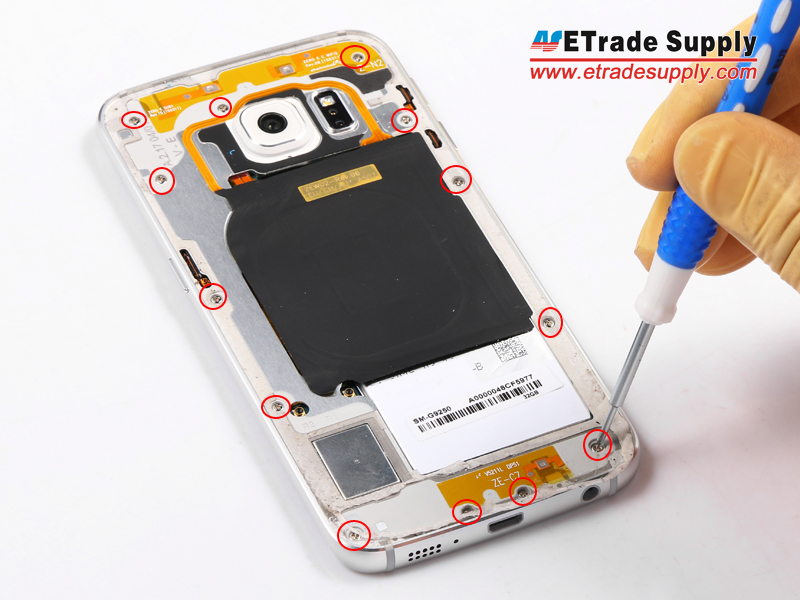
▪ Fasten the 13 screws in the rear housing.
Step 7: Reassemble The Galaxy S6 Edge’s Battery Door.

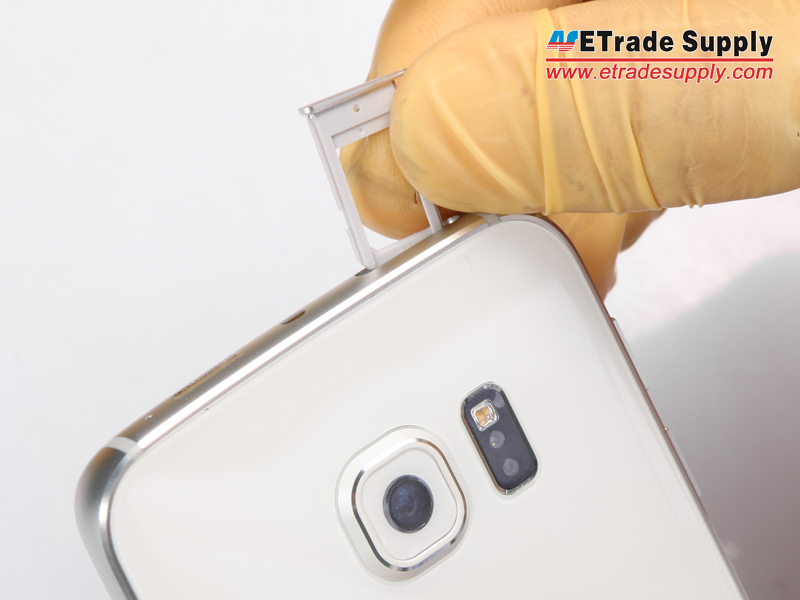
Step 8: Replace The SIM Card Tray.
Good Job! You’ve reassembled your Galaxy S6 Edge.

没有评论:
发表评论