How to reassemble Huawei Ascend P7
ATTENTION!!!!
1.Everyone can use this coupon code: ETS8OIID for orders on www.etradesupply.com over $50.
2.Everyone can use this coupon can use it only once.
3.The due date of this coupon is 31th, Dec, 2014
Tools needed:
Philips Screwdriver (1.5*25 mm)
Tweezers
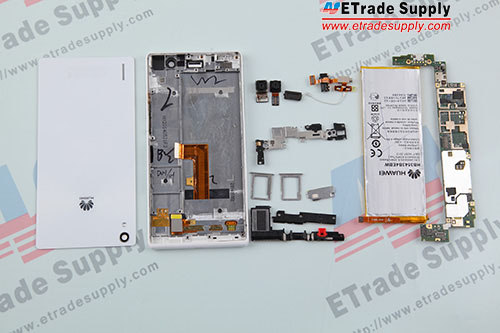
After teardown, here we show you how to reassemble Huawei Ascend P7 step by step.
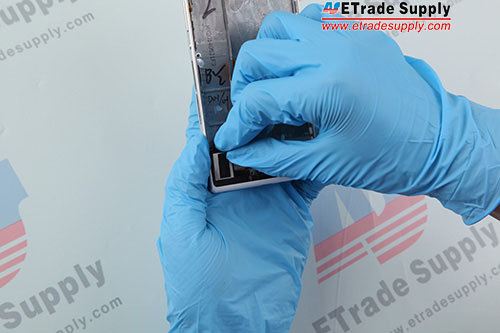
1.Insert the loud speaker into the slot.
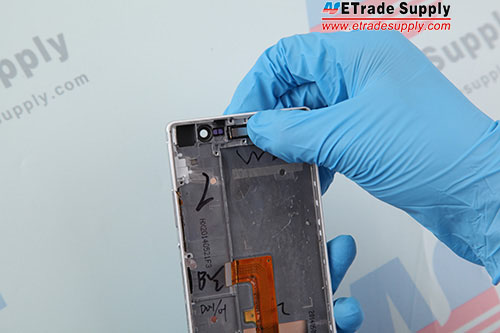
2.Put the ear speaker into the slot in the top of the phone.
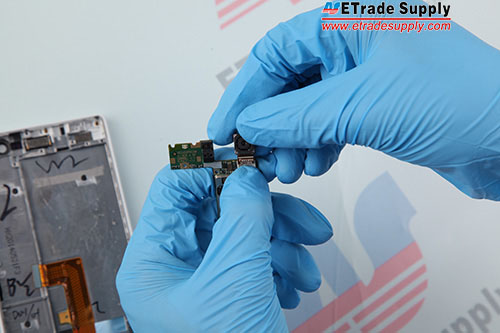
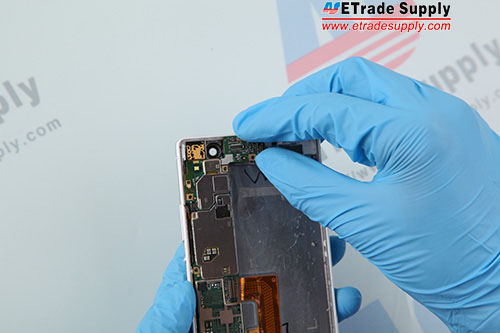
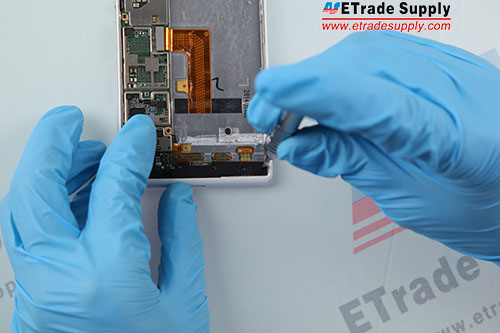
3.Connect the back facing camera flex cable to the logic board.
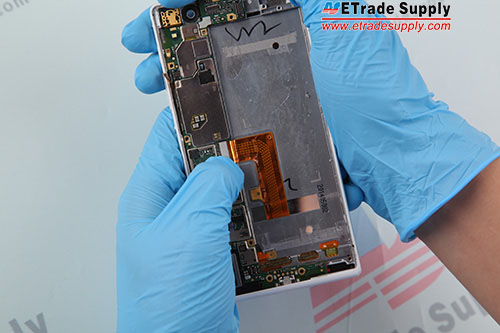
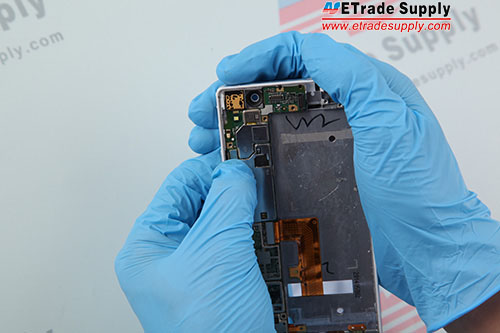
4.Put the motherboard in the slot and insert the camera into the slot correctly and gently.(Notice: take care of the flex cables attached to the housing.)
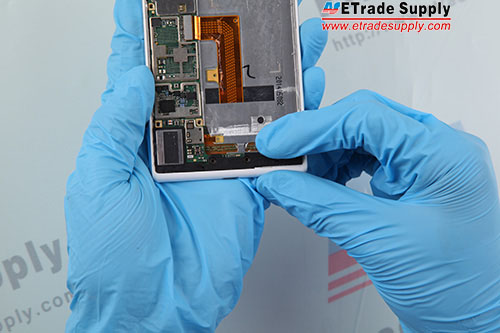
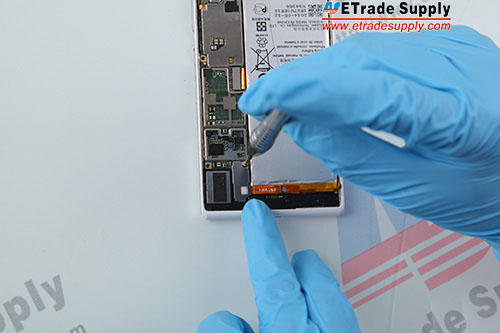
5.Connect the LCD screen and digitizer assembly flex cable and volume flex cable to the logic board.
6.Insert the black plastic retaining bracket to the bottom of the phone.
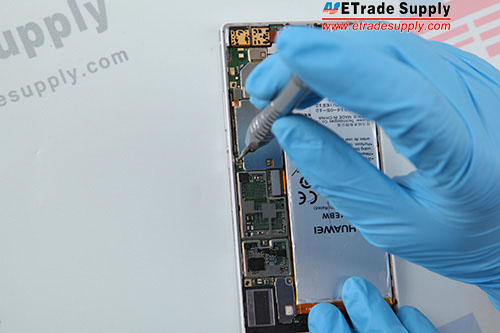
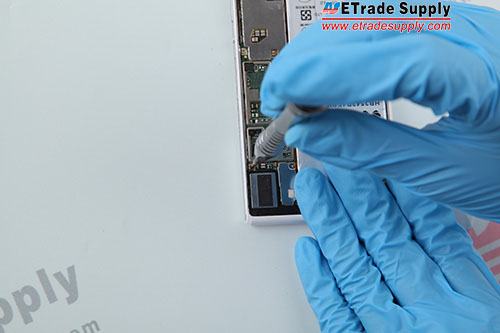
7.Fasten 3 screws into the black bracket.
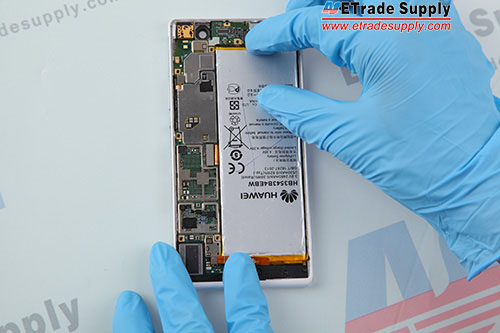
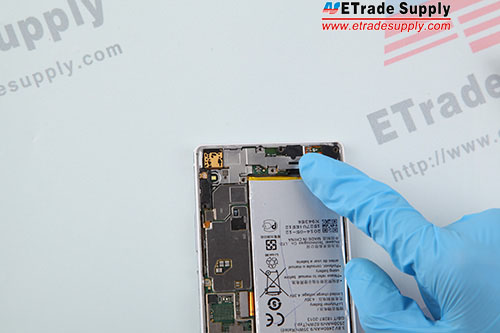
8.Put the battery into the phone.
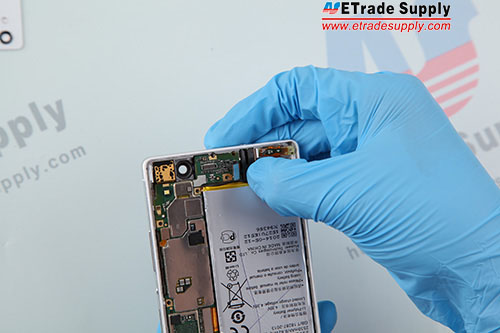
9.Connect the battery flex cable to the motherboard.

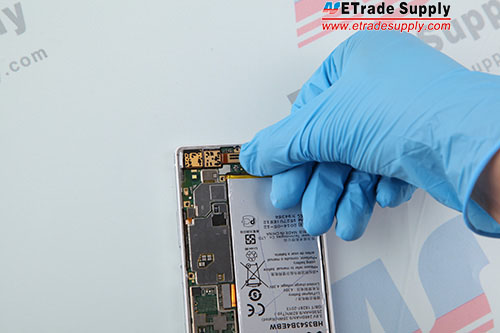
10.Insert the headphone jack and vibrating motor into the slot.
11.Connect the headphone jack flex cable to the logic board.

12.Insert the front camera to the slot and connect the flex cable.
13.Put the metal cover on the bottom of the motherboard and fasten 1 screw.
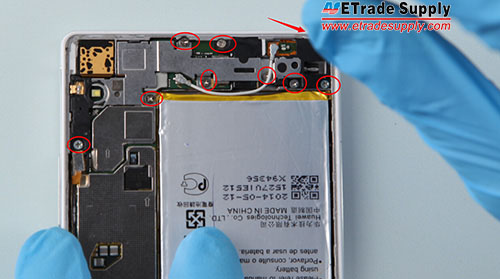
14.Fasten 2 screws in the logic board.
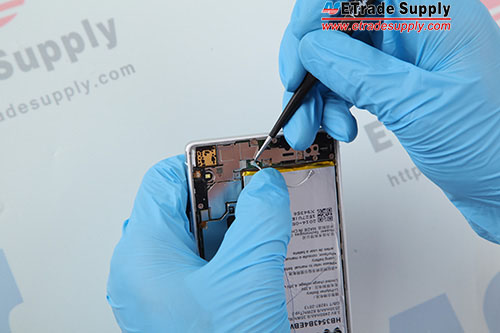
15.Put the metal cover to the top of the motherboard.
16.Fasten 9 screws in the metal retaining bracket.
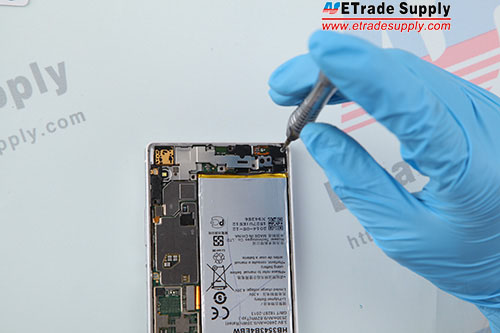
17.Connect the antenna.
18.Insert the SIM-card trays into the phone.
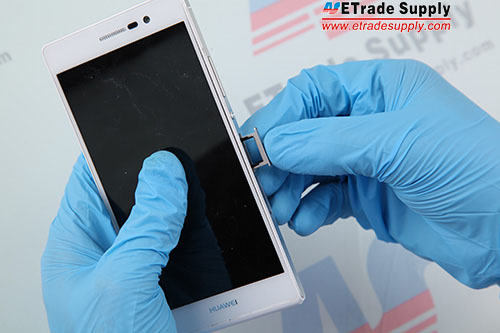
19.The Huawei Ascend P7 reassembly is done.
没有评论:
发表评论